Print an ID Card
1. Click ENTER in the ID Print module

2. Click on the drop-down menu > Find and Select the List Name (e.g., school, staff, district, office) you want to view

3. A pop-up window will appear with the printer's serial port > Select TWN4 > Click Connect

If this is your first time printing an ID card, you must ensure you select TWN4 to connect.

If you do not click Connect, you will receive a RFID reader error

You successfully connected to the RFID reader when you see Connected to Hardware next to your list.

4. Search the record you want to print > Click Select
Ensure the information in record is accurate.

A layout preview should appear at the bottom of the screen.
5. Select the correct layout if the current layout is not correct
6. Click Print > Select More Settings
7. Click Print using system dialog...

Ensure the paper size is set to CR80
8. Select Printer Options > Click Printer Features

Ensure the Ribbon is set to YMCKO Color Ribbon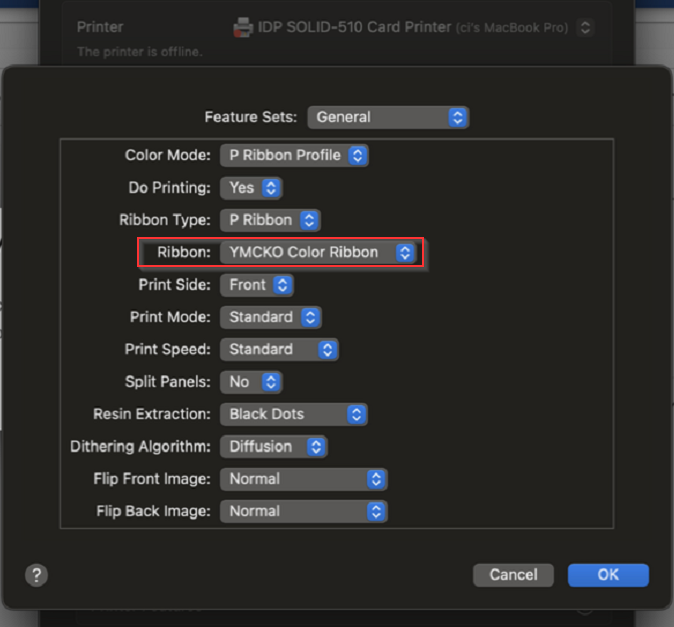
9. Select Print Side

If you have the the flipper module installed, you can select Both for Print Side. 10. Click Feature Sets > Select Wait Option

11. Set the options below > Press OK to save
12. Click Presets > Click Save Current Settings as Preset

Set Preset Name to your preference.
13. Click Print

Ensure the UID matches the card before distribution.

Was this article helpful?
That’s Great!
Thank you for your feedback
Sorry! We couldn't be helpful
Thank you for your feedback
Feedback sent
We appreciate your effort and will try to fix the article